[ad_1]
The basic toothbrush/toothbrushing techniques need a facelift. We do the same routine every time we brush. AND, no surprise, we miss the same places every time we brush.
The bottom line: most folks don’t really know how to brush effectively.
How can we make toothbrushing more effective and effective? What are some important tips and tricks to know to be the best brusher you can be? IS there a perfect toothbrush? How can we brush more plaque off? Let’s start with some basics and keep it simple. We can get the morning off to a great healthy start!
Manul Toothbrush Tips
If you are a manual toothbrush user please use only soft and extra soft brushes. Know it takes a lot longer to get all the plaque off than if you use an electric toothbrush. (I had groups of nursing assistants use a disclosing solution and brush until all the pink plaque was gone. It generally took them 10 to 15 minutes of brushing before they got it all off. I ran this class numerous times and every time it took that long to get all the plaque off.)
Tip #1.
One helpful hint is something I learned called “dry brushing”.
No toothpaste, no water. Brush until the teeth feel and taste clean. Then use a dab of toothpaste and brush again. Brush, spit and rinse.
The reason dry brushing works well is because toothpaste can numb your tongue. Then you brush with toothpaste, run your tongue over the teeth the teeth may feel clean. But, they are not. Because the tongue is numb, you cannot feel the fuzzy plaque still on your teeth. If your teeth feel dirty by mid-afternoon, you did not get all the plaque off when you brushed in the AM. Plaque is alive and grows.
Part two is the foamy toothpaste. (There will be an entire post on toothpaste ingredients coming soon. The foam causing agent in toothpaste – Sodium Lauryl Sulfate is not a friend of the mouth. We will leave it there for now. Stay tuned.) The toothpaste foam tricks you into thinking you are done. You foam, you spit and you rinse. They feel clean and boom, you think all is done. NOT so fast! Brush with a manual brush for ten to 15 minutes so you know they are clean.

BUT! Nobody brushes that long (unless I put disclosing solution in their mouth). So, to make brushing that long easier, try to dry brush while you watch TV, keep a brush in the car and brush while driving, or consider brushing in the shower or while reading. A little mindless brushing goes a log way to keeping the mouth healthier.
The Bottom Line: Brush gently but for much longer: Until they feel and taste clean.
Tip #2.
Circle brushing along the gumline.
I recommend my patients to “brush their gums” and move the brush in little tiny circles. (I recommend this technique for those with electric brushes too.)
Stop scrubbing like you are cleaning the grout. Instead, move the brush in little tiny circles all the way onto the gums. You will not hurt your gums – as long as you STOP SCRUBBING – no Grout cleaning. Gently move the brush in small circles and get the brush all the way to the bottom of the vestibule- the area between the teeth and the lips or cheeks.

The back and forth scrubbing motion we all did as kids is not the correct brushing technique. It can cause damage to the teeth and gums. Circle brushing – little tiny circles – is much better for removing plaque, And, brush the gumline. Get that tooth brush angled into the gumline.
Remove the plaque throughly every 12 hours.
Bottom Line: Brush your gums twice a day.
Tip #3.
Your brush needs to dry out between uses. The plaque in the brush bristles loves your moist, warm, plaque encrusted toothbrush. The bacteria stay alive in between the nylon bristles. SO, have two brushes or at least two brush heads and alternate between brushes. Brushes need to dry for 24 hours. And, do not enclose it in a plastic container that allows it to stay moist.
Ultraviolet light brush sanitizers can also disinfect brushes.
Bottom Line: Have two brushes. Air dry.
Tip #4.
Where’s your toothbrush located? In the bathroom, next to the toilet? Close the toilet lid. Yes, poop aerosol is a real issue. Do you really want it landing on your brush? It lingers in the air…
Bottom Line: Close the lid, move the toothbrush out of the bathroom or at least in a drawer.
Tip #5.
Use disclosing tablets to see how effective you are at really removing all the plaque. That’s the reason we brush- plaque removal. So, test yourself occassionally. See for yourself how great or maybe, not so great you brush. Most folks have the same exact pattern every time they brush so they miss the same areas every time.
Disclosing tablets are available for purchase – or ask your incredible hygienist to share a few tablets. Cut the tablet in half and chew one half before you brush so you can see where all the plaque is hiding. Chew it well so it mixes with your saliva. Then swish it thoroughly through all the teeth. Spit and smile. Anywhere you see pink, that is plaque biofilm and FULL of bacteria.

Then (dry) brush, do your full routine. When you think you are done- take the other half tablet. Chew, swish and smile. Still pink? Or purple? (two tone tablets show old plaque purple and new plauqe pink.) Back to the drawing board. Or are the teeth pearly white and totally pink-free? Yay!!!, good job.
Teach yourself where the plaque hides in the nooks and crannies and what to do and how long to do it to take all the plaque off. The drug stores sell plastic mouth mirrors so you can look around just like I do.
Bottom Line- Test, treat, re-test to improve your technique.
Tip#6.
Buy the best electric toothbrush you can afford. Electric brushes just work better.
I have a regular screw driver in the kitchen drawer and it’s fine to use in a pinch. But, if I have serious work to do, I head out to the shop to get the power tool that will do the job more easily and efficiently. Electric toothbrushes are no different. They remove more plaque faster and much more gently andin less time. The newer brushes even have pressure sensors to let you know you are pressing too hard. What takes the manual brush 10+ minutes can take the electric brush two to four minutes.
I understand that not everyone likes or can use an electric brush. For some people the vibration is too intense. Try a different electric brush. There are softer, more gentle brushes. I like a child’s brush for those really sensitive types. Child brush heads are also much small and easier to manipulate in small mouths – child or adult. And, they are way more colorful and fun.
When I first started using an electric brush many years ago, the vibration bothered me too. I decided to try using it for five seconds and finish with the manual brush. The next day I used it for six seconds, and increased it second by second every time I brushed. By the end of that month I was able to increase the power and brush the entire two+ minutes. I just had to desensitize my gums.
For those concerned about Electro Magnetic Fields (and maybe we all should be concerned but another post for a different day) there are brushes that do not give off EMFs. The Kyoui is my favorite: no EMFs, it has a soft setting, and a two heads- the white “normal” and the black “soft” head. – add my code for 10% off – BARBARATRITZsave10%.

The instructions for the electric brush say to hold it along the gum line. I still recommend you make those little tiny circles and wiggle it into the gumline during brushing. Encourage those bristles to get into the gumline crevices where the plaque hides.
Bottom line: Power tools for the win!
Tip #7.
Change your brushes and brushheads with the seasons.
I recommend you have a new brush/brushhead at least every three months. Change everyone in the family at the same time otherwise you forget who got what when… I like the idea of the seasons as that’s a good reminder to change brushes and brushheads. Brush heads and brushes get worn out and you don’t know it. Saving $30 now may translate into a gum infection and much more spent later beause the brush does not clean properly.

Does your brush look like someone sat on it? If your brush bristles splay to the sides – retire it now. You are brushing too hard. The sides of the brush bristles can accutally cause damage to the tissue- you can cut up your gums with these damaged brushes. Stop scrubbing the grout.

If you have a cold or are sick, change your brushes out as well.
Bottom Line- New brush/brush head every three months. I change mine with the seasons.
Tip#8.
Brush with the ends of the bristles.
This goes back to the previous tip. The ends of the brush bristles are THE part of the brush doing the cleaning so gently circle-brush the tips into the nooks, crannies and underneath the gumline. When you press too hard and splay the brush you end up brushing with the sides of the brushbristles. The sides of the brush do not clean the teeth but rather they damage the gums while leaving the plaque behind.
There are electric brushes that can tell you when you press too hard.
Bottom Line: Gentle brushing with the ends of the brush bristles. If you press too hard, use a pressure sensing electric toothbrush.
Tip #9.
Stop using a communal toothbrush cup for storing brushes. Each brush should be stored by itself and not touching other brushes. Think cross-contamination. Not good to share germs, even if you are kissing the owner of the other brush. (And do I even need to say “no sharing toothbrushes”?)

Bottom line: store each brush separately
Tip#10+
Odds and Ends: Because I actually had more than ten tips 🙂
Wash your hands before and after you brush your teeth. Wipe the foamy toothpaste off your face, especially if you happen to use a (gasp) fluoride toothpaste. Toothpaste post coming soon!
Brush your teeth, then brush the roof of your mouth, cheeks, and all the soft tissues. Scrape your tongue with a tongue-cleaning tool, not just the toothbrush. (If you don’t have a tongue scraper then flip over a spoon and use the edge of that. Scrape until all the plaque is squeezed out of the follicles. Food tastes so much better when taste buds are not covered in sticky, smelly plaque and decaying food debris.

Then do a gargle to clean the back of your throat and tonsil region. Same plaque, the same bugs just different locations in the mouth. Tonsils harbor all the same bacteria in the crevices. Sometimes we build up tonsil stones – those white cottage cheese-like textured things stuck to the tonsils. The tonsil stones (also called tonsilloliths) can be very smelly. Some gentle gargling with warm salt water can help to dislodge them. See your ear, nose, and throat specialist for further help removing them.
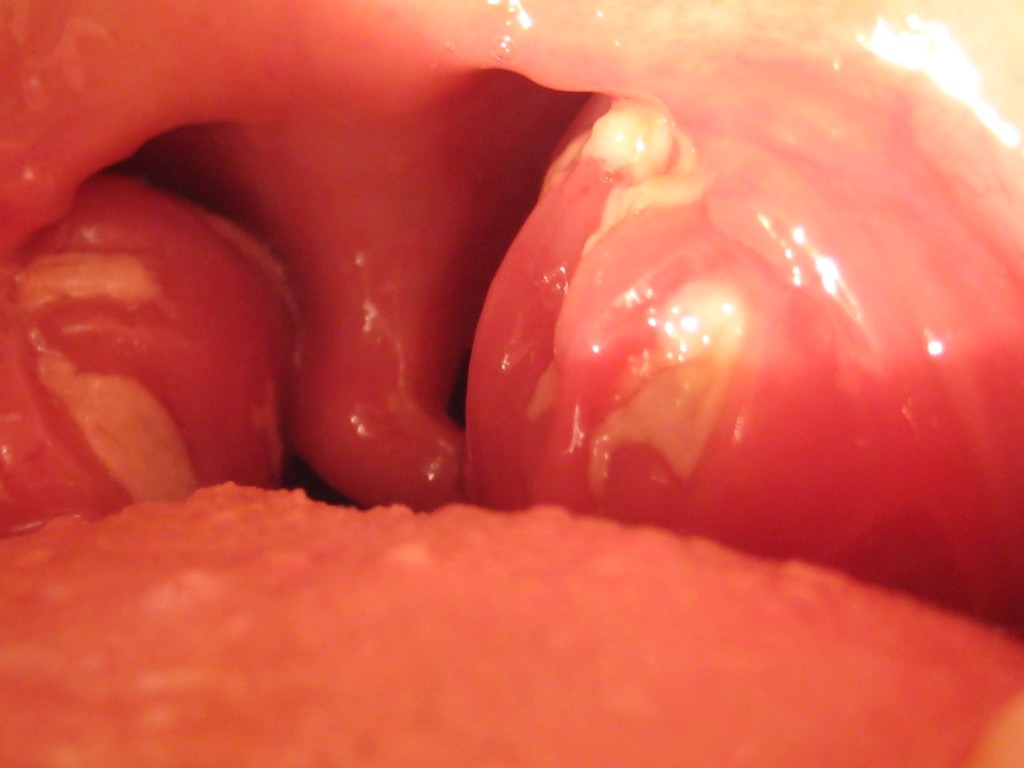
https://youtube.com/shorts/ddkb_3oO4KY Here’s a video I took of the bacteria in a tonsil stone.
And if you have appliances: night guards, retainers or dentures? They need their own appliance brush and a good twice daily scrub.

They also harbor the same plaque and tartar as teeth. Sometimes it takes me as long to clean the dental appliances as it did their teeth. Tartar builds up and looks off white and chalky. Always bring your appliances with you to your dental appointments so your dental team can put them in the ultrasonic cleaner. I often take my air polisher to the appliances and clean out the nooks and crannies.
Bottom Line: Don’t just stop at cleaning teeth. Clean the entire mouth and all the things that may go in there.
Now you know! Slow down. Brush more thoroughly and get all that nasty, pathologic plaque out twice a day with better and more conscientious brushing. Tools and time matter. Invest in your health.
Turn the tide on gum disease with your new tips on toothbrushing.
Til next time,
Warmly,
Barbara
Queen of Dental Hygiene and Oral Care Routines for True Oral Health and Wellness
Related
Source link
Leave A Comment